“The advantage of feature branching is that each developer can work on their own feature and be isolated from changes going on elsewhere.” (FeatureBranch)

Feature branches have been around for a long time and are a common practice among dev teams. I couldn’t imagine development in a team without them. It would seem ludicrous if someone asked me to share a branch with a colleague who is working on a different feature. Just the thought makes me uncomfortable. It’s easy to see how the isolation that feature-branches provide, is also needed for testing the application. And more specifically — testing its integrations.

Keeping your running code isolated used to be much easier — you could run everything locally. I’ve had MySQL and Redis installed on almost every computer I’ve worked on. But as our applications grew to rely on managed services — like Cognito and BigQuery — running 100% locally became an issue. It’s possible to mock or mimic these services, but they never act exactly like their original counterparts. Furthermore — these integrations should be tested frequently and early — as the boundaries of our application tend to be the places we get surprised in, and where things break.

Feature Environments to the rescue

So if we want to test our application against real cloud services, why can’t we share?

This actually works on a small scale. For example — each developer runs his code locally, and everyone works with a dedicated S3 bucket that has different folders to isolate usage. But you don’t have to think far to get to a point where this breaks. What if we’re using an SQS Queue? My local application would push a message into that queue, only to have a colleague’s local application pulling that message. That’s exactly the type of interruption we’d like to avoid. We should each use our own queue — and to extrapolate from there — our own environment.

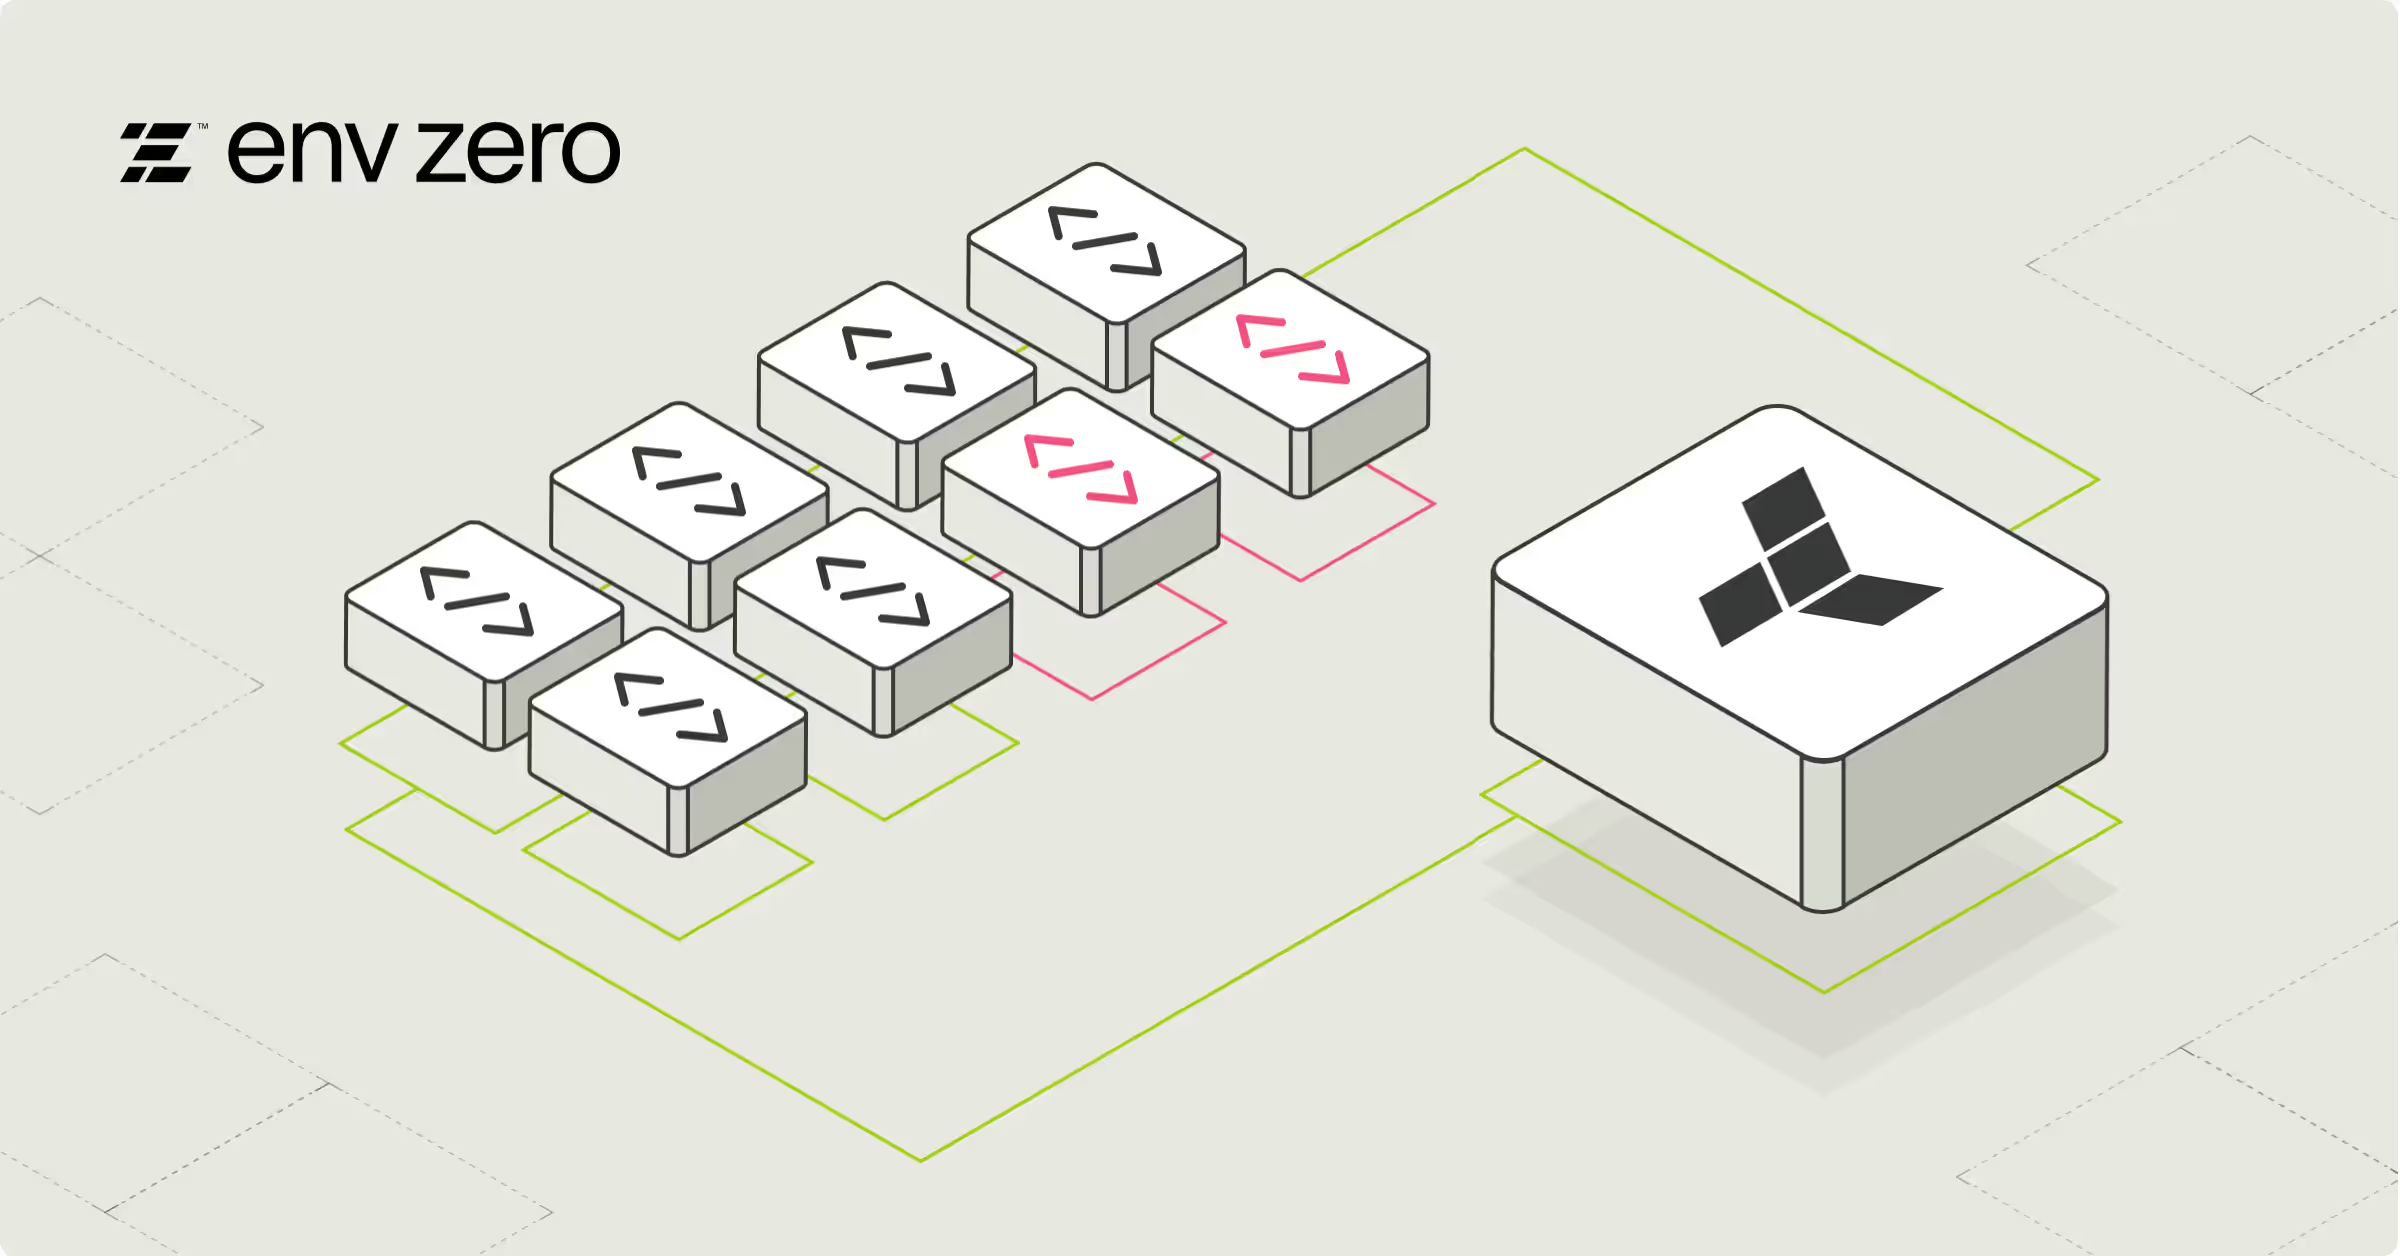
Running an environment for every feature branch, or every pull request, is firstly a matter of how you perceive your CD pipeline. Don’t think of it as ‘this deploys the environment’, but as ‘this deploys an environment’. You just need to give it a name. That could be ‘production’ or ‘staging’, but it could also be ‘pr1017’ of ‘feature-blue-button’. Your CD process needs to work for existing environments, as well as for new ones. This is where Terraform really shines.

Because Terraform uses a declarative approach, it is in charge of figuring out if the environment is new and needs to be created, or if it exists and needs to be updated. Another key feature of Terraform is Workspaces, which isolate state between different environments (it was even called “environments” in previous versions). Your Terraform code will need to use the variable ${terraform.workspace} in order to make sure your resources are specific for the environment you are in.

A working example.

We’ll work with a very simple setup, just to illustrate this flow. We’ll start with an S3 bucket, exposed as a website, containing a simple HTML file:

locals {
 environment_name = terraform.workspace
}

resource “aws_s3_bucket” “website_bucket” {
 bucket = “${local.environment_name}.feature.environment.blog.com”
 acl = “public-read”
 force_destroy = true
 website {
   index_document = “index.html”
 }
}

Notice how we create a local variable from the Terraform workspace name, and that we use that variable in order to give the bucket a unique-per-environment name.

Our “CD Process” will be a simple bash file, that accepts the environment name as a parameter:

echo “Deploying environment $ENVIRONMENT”
echo “Injecting env vars”
sed ‘s/!!!ENVIRONMENT!!!/’”$ENVIRONMENT”’/g’ index.template.html > $ENVIRONMENT.index.html
echo “Applying Terraform”
terraform init
echo “Selecting/creating workspace”
terraform workspace select $ENVIRONMENT || terraform workspace new $ENVIRONMENT
terraform apply

Here we -

  1. Inject the environment name into an html file, which will serve as our static site.
  2. Select/create a Terraform workspace that’s named after our environment.
  3. Apply the environment.

(You can find the complete example in https://github.com/env0/feature-environments-blog-code)

Let’s run it !

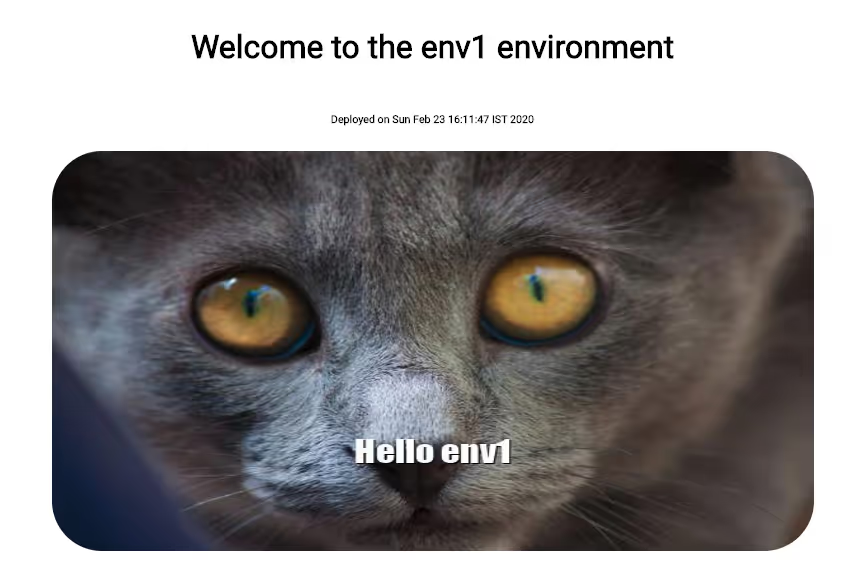
Running ./apply.sh env1 will deploy an environment called env1. Terraform will initialise, show us what actions are going to be performed (the Terraform plan), and after deploying everything, will output the endpoint of the website. If we go into that website — we’ll see something like this -

Our first environment!
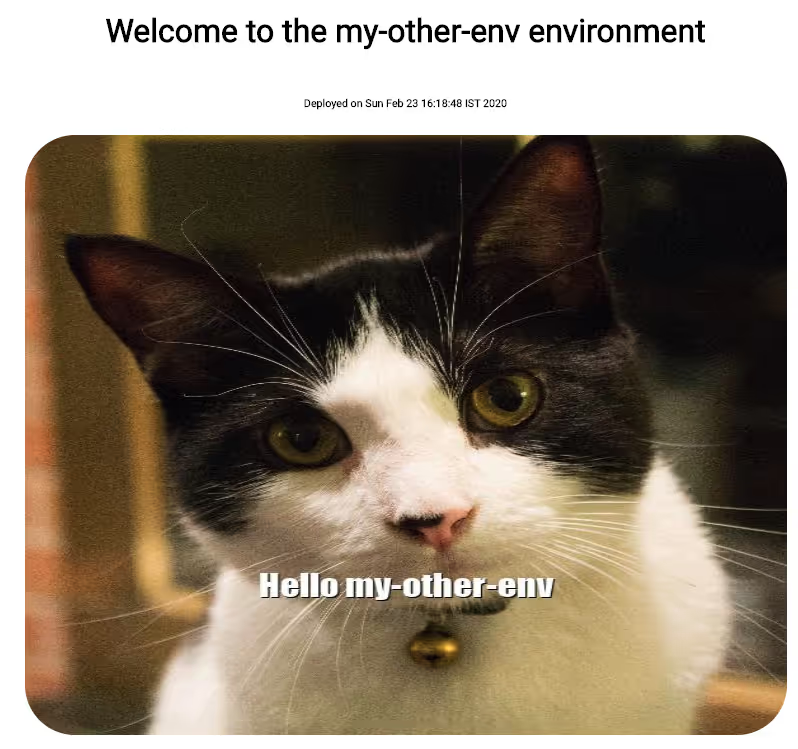
Let’s try running that again, for a different environment this time. We’ll run ./apply.sh my-other-env, and we’ll get a link to a website that looks like this — Really just an excuse to show some cat pics
Updating

In order to update our environment, all we have to do is run apply.sh again, with the same environment name. Our code, and Terraform, will recognize we are working on an existing environment, and will update it accordingly.

Destroying

When the branch is merged and deleted, there is no need for this environment, and we definitely don’t want to keep paying for it. In order to destroy that specific environment, we just need to run -

> terraform workspace select $ENVIRONMENT
> terraform destroy

Terraform will ask for approval, and take it from there. Be careful though because those cat pics aren’t easy to find ;)

Automating

The next and final step to having feature-environments, is having them automated. This is an extremely beneficial thing to automate, and your engineers will thank you for getting a dedicated isolated environment for every branch/PR they open. You can take some version of the apply.sh file shown above and put it in your pipeline (GH actions, Circle, Jenkins, etc…). Just make sure you also remember the destroy part, when that branch/PR is closed.

The joy of feature environments

At env0, we’ve been using feature environments since day one. Every PR we open runs its own environment. That really helps us test our entire application early and without interruptions. We also commonly use this to showcase features in development, which really helps to get early feedback. It is also another incentive to open PR’s early in the development process, which is a great way to share what we are working on. Each developer runs about 20 environments every month, and the average environment lives for about 1.5 days.

From a blog post to the real world

I would like to ask you to take all of the above with a grain of salt — this code is really an oversimplified example, meant to illustrate a workflow. As software often goes — making it work “in the wild’’ is often much more complex. Automating Terraform and managing cloud environments isn’t a trivial thing, and most CI/CD tools are built to run one time tasks, and not manage “environments”, that have a longer lifecycle.

That’s why we created env0 , a complete Environment-as-a-service solution, that is built to give your developers the dynamic infrastructure they need, without compromising on the organization’s needs to control and govern how cloud resources are used. Give it a go at www.env0.com.

Next steps -

As I’ve written above, full blown feature environments are rarely as simple as the example above. So at this point, there are probably all kinds of questions you might be asking -

  • This sounds expensive! What are some ways to make this cheaper?
  • Giving everyone access to deploying infrastructure can get messy — how can I keep my cloud usage under control?
  • I already have Terraform code — but it runs a static environment. What are the steps to making it dynamic?

If you’d like to read more about any of the above — just let me know in the comments and I’ll try to write a follow up post. Thanks for reading!

Logo Podcast
With special guest
Andrew Brown

Schedule a technical demo. See env0 in action.

CTA Illustration