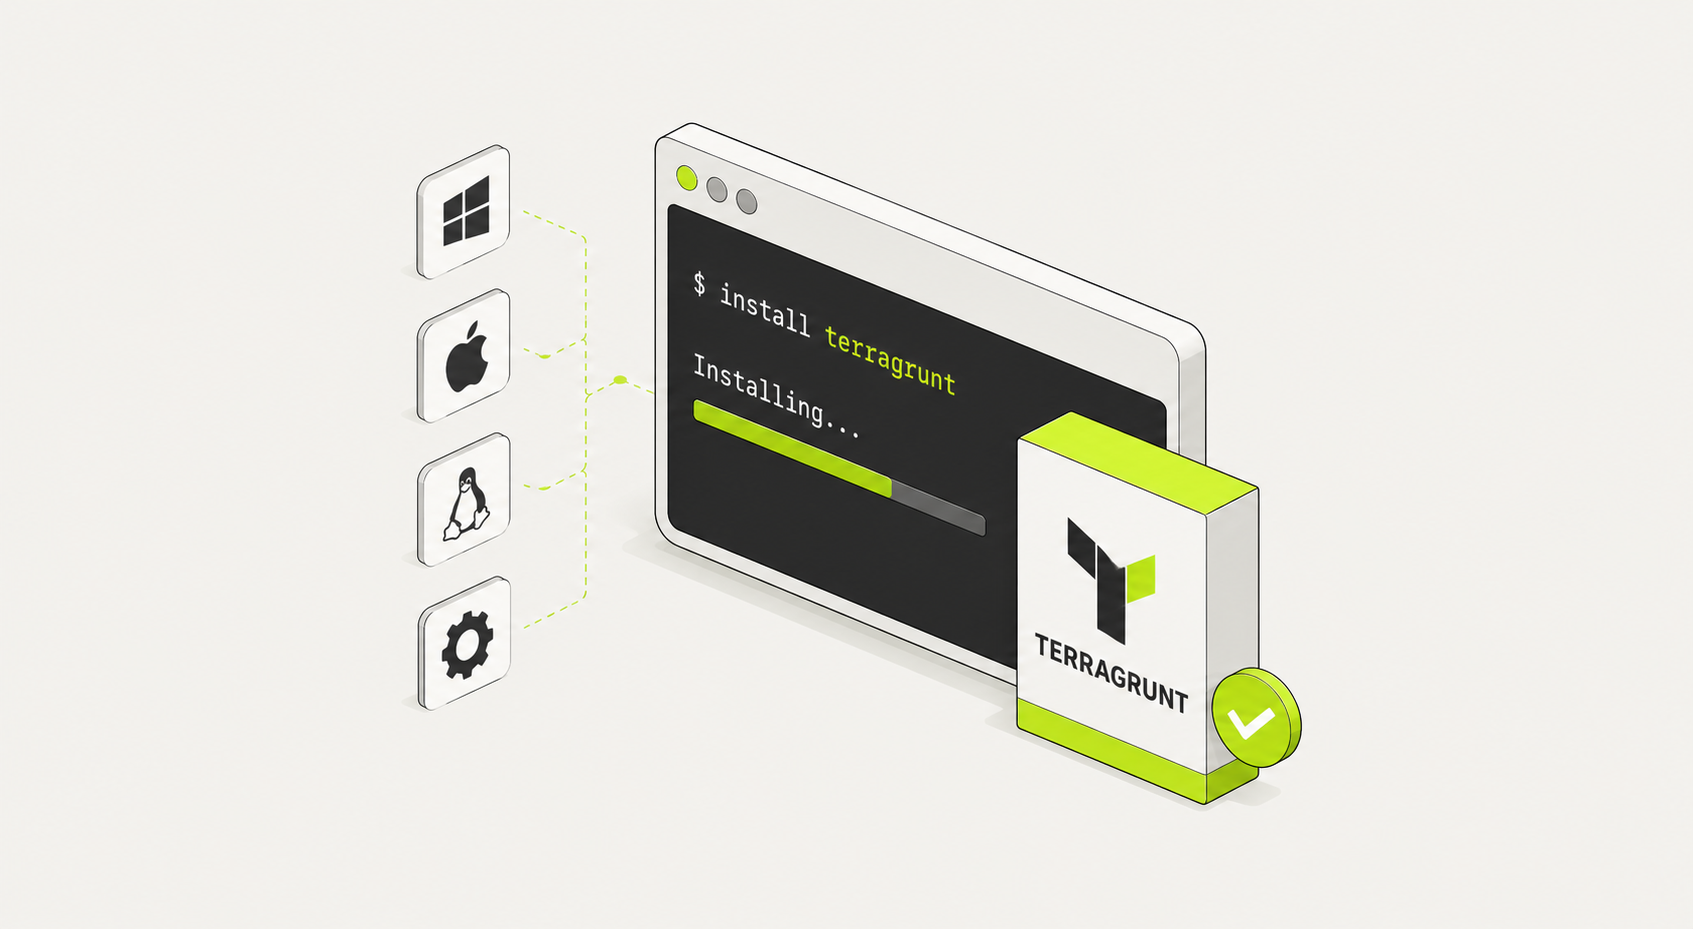
Terragrunt is a thin wrapper around Terraform and OpenTofu that adds DRY configuration, remote state management, and multi-module orchestration. Getting it installed takes under five minutes. This guide covers every platform, the recommended version manager (tenv), and how to write your first terragrunt.hcl.
Prerequisites
Before installing Terragrunt, you need a working installation of either Terraform or OpenTofu. Terragrunt delegates all plan, apply, and state operations to whichever binary it finds.
| Requirement |
Minimum Version |
Notes |
| Terraform |
1.0+ |
Can also use OpenTofu 1.6+ as a drop-in replacement for most Terraform workflows. |
| OpenTofu |
1.6+ |
Set TERRAGRUNT_TFPATH=tofu to run Terragrunt with OpenTofu instead of Terraform. |
| Git |
Any recent version |
Required for module source references, repository cloning, and version-controlled infrastructure code. |
Verify your Terraform or OpenTofu install before proceeding:
This snippet compares version checks between Terraform and OpenTofu.
It helps verify installation and ensure both tools are available in your environment.
# Terraform version check
terraform -version

# OpenTofu version check
tofu -version
Running these commands confirms the installed CLI versions and validates that both Terraform and OpenTofu are correctly configured in your PATH.
This is especially useful during migration or side-by-side testing of infrastructure tooling.
Install Terragrunt on Linux
Option 1: Direct binary download (fastest)
Download the latest release binary from GitHub, make it executable, and move it onto your PATH:
This workflow shows how to install the latest Terragrunt binary directly from GitHub releases.
It automatically detects the newest version, downloads it, and installs it into your system PATH.
# Get the latest version number
LATEST=$(curl -s https://api.github.com/repos/gruntwork-io/terragrunt/releases/latest \
  | grep '"tag_name"' | sed -E 's/.*"v([^"]+)".*/\1/')

# Download the binary
curl -Lo terragrunt \
  "https://github.com/gruntwork-io/terragrunt/releases/download/v${LATEST}/terragrunt_linux_amd64"

# Make executable and move to PATH
chmod +x terragrunt
sudo mv terragrunt /usr/local/bin/terragrunt
This approach ensures you always install the latest stable Terragrunt release.
The binary is made executable and moved into /usr/local/bin, making it globally available for infrastructure automation workflows.
For ARM64 systems (e.g., AWS Graviton), replace linux_amd64 with linux_arm64.
Option 2: Package managers
apt (Ubuntu/Debian) — Terragrunt is not in the default apt repositories. Use the direct binary method or tenv (see below).
dnf/yum (RHEL/Fedora/Amazon Linux) — Same recommendation: use the binary or tenv.
Homebrew on Linux:
brew install terragrunt
Install Terragrunt on macOS
Option 1: Homebrew (recommended)
brew install terragrunt
Homebrew installs the latest stable version and handles upgrades:
brew upgrade terragrunt
Option 2: Direct binary download
For machines without Homebrew, download directly from GitHub:
This installation guide shows how to download and set up Terragrunt on macOS for both Intel and Apple Silicon architectures.
It ensures you install the correct binary for your system.
Intel Mac
curl -Lo terragrunt \
  "https://github.com/gruntwork-io/terragrunt/releases/latest/download/terragrunt_darwin_amd64"
Apple Silicon (M1/M2/M3/M4)
curl -Lo terragrunt \
  "https://github.com/gruntwork-io/terragrunt/releases/latest/download/terragrunt_darwin_arm64"
chmod +x terragrunt
sudo mv terragrunt /usr/local/bin/terragrunt
After downloading the correct binary, chmod +x makes it executable, and moving it into
/usr/local/bin ensures Terragrunt is available globally from any terminal session.
Option 3: MacPorts
sudo port install terragrunt
Install Terragrunt on Windows
Option 1: Winget
This command installs Terragrunt on Windows using Winget, the official Windows package manager.
It provides a fast and clean way to set up the CLI without manual downloads.
winget install --id Gruntwork.Terragrunt
After installation, Terragrunt becomes available globally in your terminal.
You can verify it using terragrunt --version to confirm a successful setup and begin managing infrastructure modules efficiently.
Option 2: Chocolatey
This command installs Terragrunt on Windows using Chocolatey.
It is a simple and widely used package manager for automating CLI installations.
Once installed, you can verify the setup using terragrunt --version.
Chocolatey handles dependencies and PATH configuration automatically, making it a convenient option for Windows-based infrastructure workflows.
Option 3: Scoop
This command installs Terragrunt using Scoop, a lightweight package manager for Windows.
It provides a fast and minimal way to install CLI tools without administrator overhead.
After installation, Terragrunt is automatically added to your environment PATH.
You can confirm installation with terragrunt --version and immediately begin using it for infrastructure orchestration and module management.
Option 4: Manual install
- Download the latest terragrunt_windows_amd64.exe from the Terragrunt releases page.
- Rename it to terragrunt.exe.
- Move it to a directory on your PATH (e.g., C:\tools\) or add its location to your system PATH environment variable.
Using WSL2: If you're working in Windows Subsystem for Linux, follow the Linux installation steps inside your WSL2 environment. This is the recommended setup for teams using Terragrunt on Windows, as shell scripting and file path handling are more predictable in a Linux environment.
Using tenv (Recommended for Teams)
tenv is a version manager for Terraform, OpenTofu, and Terragrunt. It lets you pin a specific version per project and switch between versions without manual binary management — the same way nvm works for Node.js.
Why use tenv
- Pin the exact Terragrunt version in .terraform-version or .tenv files, so everyone on the team uses the same version
- Switch between versions instantly without re-downloading
- Works on Linux, macOS, and Windows
- Manages Terraform, OpenTofu, and Terragrunt from a single tool
Install tenv
macOS/Linux via Homebrew:
This guide shows how to install tenv, a version manager for Terraform/OpenTofu environments.
It can be installed via Homebrew on macOS or manually on Linux using a direct binary download.
macOS (Homebrew)
Linux (Direct Binary)
# Get latest version
LATEST=$(curl -s https://api.github.com/repos/tofuutils/tenv/releases/latest \
  | grep '"tag_name"' | sed -E 's/.*"v([^"]+)".*/\1/')

# Download binary
curl -Lo tenv \
  "https://github.com/tofuutils/tenv/releases/download/v${LATEST}/tenv_v${LATEST}_linux_amd64"

# Make executable and install
chmod +x tenv
sudo mv tenv /usr/local/bin/tenv
After installation, tenv helps manage multiple versions of Terraform and OpenTofu in a single environment.
The binary install method ensures you always get the latest release directly from GitHub.
Windows via Winget:
This command installs tenv on Windows using Winget, the official Windows package manager.
It provides a quick and clean way to set up version management for Terraform and OpenTofu.
winget install --id tofuutils.tenv
After installation, tenv is available globally in your terminal.
You can verify it with tenv --version and begin managing multiple IaC tool versions seamlessly across projects.
Install and pin Terragrunt with tenv
This snippet demonstrates how to use tenv for Terragrunt version management.
It allows you to install, switch, and pin specific Terragrunt versions globally or per project.
# Install the latest version
tenv terragrunt install latest

# Install a specific version
tenv terragrunt install 0.67.0

# Set the default version globally
tenv terragrunt use 0.67.0

# Pin a version for a specific project (creates .tenv file)
cd my-infra-repo
tenv terragrunt use 0.67.0 --project
Using tenv ensures consistent tooling across environments.
Global selection affects your system default, while --project pins versions per repository for reproducible infrastructure behavior.
With a .tenv file in the project root, every team member running terragrunt in that directory automatically uses the pinned version — no manual coordination needed.
Verifying the Installation
Confirm Terragrunt is installed and accessible:
This check verifies your Terragrunt installation and ensures it can correctly detect the underlying Terraform or OpenTofu binary.
It’s a key step to confirm your environment is properly configured.
Check Terragrunt version
terragrunt --version

# Expected output:
terragrunt version v0.67.0
Check Terraform binary detection
# Default: uses 'terraform'
which terraform
Use OpenTofu instead
# If using OpenTofu, set the path explicitly
export TERRAGRUNT_TFPATH=tofu

terragrunt --version  # should still display cleanly
Terragrunt acts as a wrapper around your chosen IaC engine. By default it looks for terraform,
but you can switch to OpenTofu by setting TERRAGRUNT_TFPATH.
This ensures consistent behavior across different infrastructure backends.
Test basic functionality by running terragrunt from a directory with a terragrunt.hcl file:
terragrunt validate
If you see a Terraform/OpenTofu validation output, the full chain is working.
Your First terragrunt.hcl File
With Terragrunt installed, here's a minimal working configuration that manages remote state automatically — one of Terragrunt's most useful features out of the box.
Directory structure
This example shows a clean Terragrunt project structure using a root configuration file and environment-specific modules.
It helps you centralize shared settings while keeping infrastructure modular and reusable.
my-infra/
├── terragrunt.hcl          # root config (shared settings)
└── environments/
    └── dev/
        └── vpc/
            └── terragrunt.hcl   # module config
The root terragrunt.hcl typically defines shared inputs, remote state, and provider settings.
Each environment module (like dev/vpc) extends this configuration, enabling scalable and DRY infrastructure management across environments.
Root terragrunt.hcl
The root file defines remote state settings that all child modules inherit:
This configuration defines a centralized remote state backend in Terragrunt using AWS S3 and DynamoDB.
It automatically generates the backend configuration file for each module.
Root Terragrunt Configuration
my-infra/terragrunt.hcl

remote_state {
  backend = "s3"

  config = {
    bucket         = "my-terraform-state-${get_aws_account_id()}"
    key            = "${path_relative_to_include()}/terraform.tfstate"
    region         = "us-east-1"
    encrypt        = true
    dynamodb_table = "terraform-state-lock"
  }

  generate = {
    path      = "backend.tf"
    if_exists = "overwrite_terragrunt"
  }
}
The remote_state block ensures all modules share a consistent backend configuration.
Using generate, Terragrunt automatically creates the Terraform backend file, while S3 stores state securely and DynamoDB provides locking to prevent concurrent modifications.
Terragrunt will automatically create the S3 bucket and DynamoDB lock table if they don't exist.
Child module terragrunt.hcl
This module configuration defines a Dev VPC using Terragrunt.
It pulls shared settings from the root configuration and deploys a reusable AWS VPC module with environment-specific inputs.
Dev VPC Module Configuration
my-infra/environments/dev/vpc/terragrunt.hcl

include "root" {
  path = find_in_parent_folders()
}

terraform {
  source = "tfr:///terraform-aws-modules/vpc/aws?version=5.0.0"
}

inputs = {
  name             = "dev-vpc"
  cidr             = "10.0.0.0/16"
  azs              = ["us-east-1a", "us-east-1b", "us-east-1c"]
  private_subnets  = ["10.0.1.0/24", "10.0.2.0/24", "10.0.3.0/24"]
  public_subnets   = ["10.0.101.0/24", "10.0.102.0/24", "10.0.103.0/24"]
}
The include block inherits shared configuration like remote state and provider settings.
The terraform source pulls a versioned AWS VPC module, while inputs define environment-specific networking parameters for the dev environment.
Running it
This workflow shows how to deploy infrastructure using Terragrunt in a specific environment directory.
It handles backend configuration automatically and simplifies Terraform operations.
Dev VPC Deployment Workflow
cd my-infra/environments/dev/vpc

# Initialize (Terragrunt handles backend config automatically)
terragrunt init

# Preview changes
terragrunt plan

# Apply infrastructure changes
terragrunt apply
Using terragrunt init ensures remote state and backend settings are configured automatically from the root configuration.
The plan step previews infrastructure changes, and apply provisions the Dev VPC in AWS.
Terragrunt generates the backend.tf file, creates the S3 bucket if needed, and runs Terraform with all the correct arguments — no manual backend configuration required in each module.
Troubleshooting
terragrunt: command not found
The binary is not on your PATH. Verify its location and add it:
This snippet helps you verify where the Terragrunt binary is installed and ensures it is correctly available in your system PATH.
It also shows how to fix PATH issues if the command is not found.
Locate Terragrunt Binary
which terragrunt || find /usr/local/bin /usr/bin -name terragrunt 2>/dev/null
Add to PATH (if needed)
# Add to ~/.bashrc or ~/.zshrc
export PATH=$PATH:/usr/local/bin
If which terragrunt returns nothing, the binary may not be in your PATH.
Adding /usr/local/bin ensures the shell can locate and execute Terragrunt globally across all terminal sessions.
Error: No valid credential sources found
Terragrunt found its config but Terraform can't authenticate to the cloud provider. This is a credentials issue, not a Terragrunt issue.
This setup configures AWS authentication for Terragrunt/Terraform workflows.
It ensures your CLI has permission to access AWS resources before running infrastructure commands.
Configure AWS credentials
aws configure

# or use a named profile
export AWS_PROFILE=my-profile
Verify authentication
aws sts get-caller-identity
Running aws sts get-caller-identity confirms your credentials are valid and active.
Terragrunt and Terraform will automatically use this authentication context when provisioning cloud resources.
Error finding terraform binary
Terragrunt cannot locate Terraform or OpenTofu.
This configuration verifies your Terraform or OpenTofu binary setup and shows how to switch Terragrunt to use OpenTofu instead of Terraform.
It can be done via environment variables or configuration settings.
Check Terraform installation
Use OpenTofu instead
# Tell Terragrunt to use OpenTofu
export TERRAGRUNT_TFPATH=tofu
Optional: configure in root Terragrunt file
# terraform_binary = "tofu"
Setting TERRAGRUNT_TFPATH overrides the default Terraform binary and directs Terragrunt to use OpenTofu.
This ensures consistent execution across all environments without changing individual module configurations.
find_in_parent_folders() returns an error
Error: Unable to find a terragrunt.hcl file in any of the parent folders
This means no root terragrunt.hcl exists in a parent directory, but the child config is calling find_in_parent_folders(). Either add a root terragrunt.hcl at the repo root, or remove the include block from the child config if you intend it to be standalone.
Version mismatch between team members
Use tenv with a .tenv file at the repo root to pin the version for everyone:
This workflow ensures a pinned Terragrunt version per project using tenv.
It guarantees consistent infrastructure behavior across all environments and team members.
Pin Terragrunt version for the project
tenv terragrunt use 0.67.0 --project
Ignore local metadata (optional)
echo ".tenv" >> .gitignore
Using --project creates a local version pin file so everyone working in the repository uses the same Terragrunt version.
Committing this file enforces consistency, while ignoring it allows local overrides depending on developer preference.
Error: Backend configuration changed
If you change your remote state config after initializing, Terraform detects the change:
This command reinitializes your Terragrunt working directory after configuration changes.
It ensures the backend, state, and provider settings are refreshed and aligned with the updated configuration.
terragrunt init -reconfigure
The -reconfigure flag forces Terragrunt to discard previous backend settings and reapply the latest configuration.
This is especially useful after updating remote state, switching accounts, or modifying backend definitions in your root config.
Summary
Installing Terragrunt takes a single command on most platforms. The recommended setup for teams is:
- Install tenv to manage versions across Terraform, OpenTofu, and Terragrunt
- Pin the Terragrunt version per project with a .tenv file
- Start with a root terragrunt.hcl that handles remote state, and child configs that include it
.webp)